GIMP
News
Docs
Tutorials
More
A whole new default icon theme has been created for 2.4. The icons comply with the Tango style guidelines so GIMP doesn’t feel out of place on any of the supported platforms. Regardless of whether you run GIMP under Microsoft Windows, Mac OS X or GNU/Linux (GNOME, KDE or Xfce), GIMP provides a polished, consistent look.
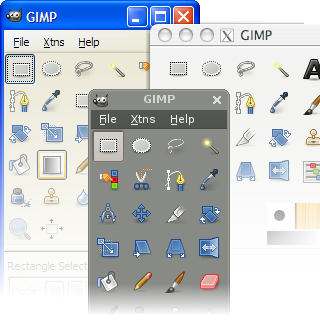
Additionally the icons also have enhanced usability on dark widget themes, which is a common setting among digital artists.
For artists preferring more desaturated color theme for their icons, an alternative icon theme is available for download.
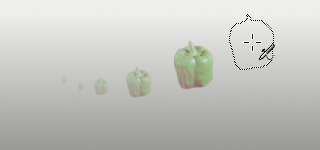
The tool options now include a brush size slider that affects both the parametric and bitmap brushes. This has been an oft-requested feature from both digital painters and photo editors.
Unlike previous versions of GIMP, regardless of whether you’re using a bitmap brush, parametric brush or even a picture tube (multiple bitmaps), you can easily set the brush size with either the tool options dock slider or an external device such as a MIDI slider or knob or a USB device like the Griffin Powermate.
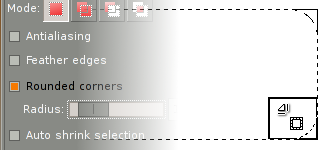
The selection tools have been rewritten from scratch to allow resizing of existing selections. Additionally the rectangular selection tool includes a setting for creating rounded corners as this has been identified as a very common task among web designers.
The learning curve for the tools has been flattened as the key functionality is available without obscure shortcuts that confused GIMP beginners. Most of the existing shortcuts still work, but the functionality is either available through the tool options or made obsolete due to the interactive move and resize on canvas.
While the tools have been redesigned to make them easier to understand for the newbies, all the former functionality is there. You can still constrain aspect ratios or specific sizes.
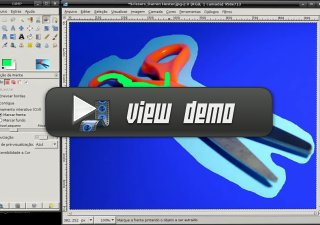
Selecting individual objects on images is easier now with a new foreground select tool. It is done in two steps. First, you make select region of interest which contains the entire object. Then you paint over selected area with a brush, not crossing object’s border. Release mouse button when you’re done and look, if there are dark blue spots on your objects. If there are some, paint with a brush over them again and release to refine selection. When there are no more blue areas inside the object, press Enter and there you have a perfectly selected object.
All video demonstrations can also be viewed or downloaded from a separate page.
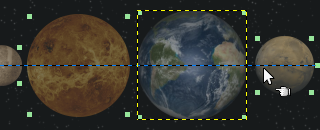
While GIMP has provided a grid and guideline functionality, the actual alignment of objects had to be done manually. In a few clicks, the new Align Tool allows you to align or distribute a list of layers, paths or guides. You can align these objects with another object, with the selection or with the image.
Most notable is the new top-level Color menu that accumulates most tools, plug-ins and scripts that adjust colors in RGB/Grayscale mode and color palettes in Indexed mode. So now you can reach functions like Levels or Curves much faster than before. You can also define your own keyboard shortcuts for them using the improved keyboard shortcuts manager.
In the new version of GIMP, some menu entries have changed their names and position. It was done mostly to simplify learning curve and improve user experience. After all, “HSV Noise” and “RGB Noise” sound more meaningful than “Scatter HSV” and “Scatter RGB”, don’t they? And status bar hints for all plug-ins and scripts are quite helpful too.
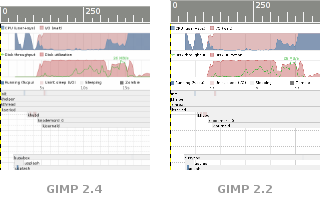
Previous versions of GIMP used a fast but inaccurate way of displaying images at various zoom levels. When zooming out, some rows and columns of pixels where simply omitted from the display. The result was sometimes confusing, especially if the image contained many thin lines or small features. GIMP 2.4 avoids these problems and provides a better view of the zoomed-out images.
The fullscreen mode has been improved to not only allow getting a full scale preview of the artwork, but also allow comfortable editing. The artist has maximum screen estate available while all functionality is quickly accessible by pressing the Tab key (toggles visibility of all docks) when working fullscreen.
Whether painting or touching up photos, fullscreen editing keeps all the distracting elements out of sight on a key press. It’s like observing stars in a field as opposed to a light-polluted city.
GIMP now provides full support for color profiles allowing precise color modification throughout the whole ‘digital darkroom’ process.
For more information, see color management.
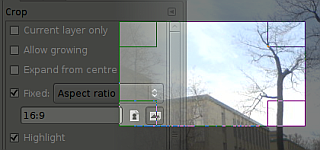
Just like the selection tools, the new crop tool has been enhanced since the last release. The resize handles actually resize the crop rectangle instead of providing both resize and move functionality. The tool behaves more naturally and consistently with other GIMP tools.
To move, simply drag the rectangle clicking within the area. Resizing is possible in one or two axes at the same time dragging the handle-bars on the sides and corners. The outside area is darkened with a nice passepartout effect to better get the idea of how the final crop will look like.
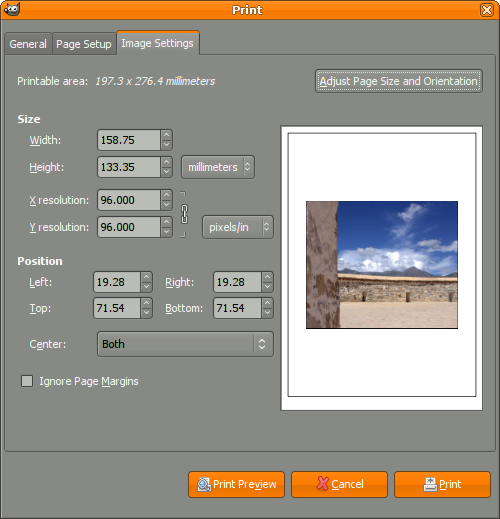
Printing has been largely improved. GIMP makes use of the advancements in the gtk+ printing API so that you can control all aspects of the printout with an easy to understand interface and immediate preview.
While numerous red-eye workflows exist already, GIMP now features a very convenient auto-magic filter to remove red eye from your shots.
A common task in image editing is to copy pixels from somewhere in an image to somewhere else. Traditionally this has been done using the Clone Tool. To make it easy to perform cloning while taking the perspective of an image into account, a new Perspective Clone Tool has been added to GIMP.
All video demonstrations can also be viewed or downloaded from a separate page.
A very common problem exposing itself especially when using cheaper lenses or expensive lenses pushed to their limits, is barrel distortion and vignetting. Luckily GIMP provides a brand new filter to compensate for both problems. Saving photographer’s pocket is our mission!
All video demonstrations can also be viewed or downloaded from a separate page.
When editing photographs, it is usually better to work with a lossless image format and only save the final result as JPEG. But if you have to work with JPEG images as input, then a new option allows you to use the same compression parameters as the original image when you re-save it.
In addition to all the above, GIMP has been improved in other areas. For instance, better status information and some hints have been added in the status bar of the image windows. You can easily discover new features and new shortcuts by trying the various keys and modifiers that are suggested while you are using the tools.

A number of changes has gone into plug-ins and scripts. First of all, a new preview widget for plug-ins was introduced. Now you can zoom in and out using the mouse wheel or +/- buttons in plug-in dialogs and pan around.
Several plug-ins like Gaussian Blur, Selective Gaussian Blur and Value Invert have received special attention with regards to speed of processing and work significantly faster now. Additionally, the Motion Blur filter can blur outwards now, and its quality has also improved.
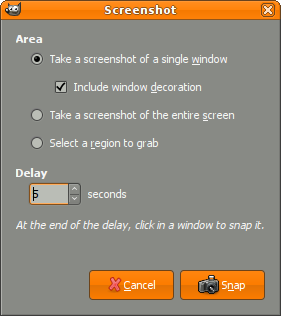
You will also note that the new Screenshot plug-in offers more sophisticated options and is far easier to use.
GIMP 2.4 features a brand new Scheme interpreter that provides better debugging, handles UTF-8 coded characters and strings, has regex based pattern matching and many more useful features that power users were requesting. The latter will be pleased to find out that plug-ins and scripts can register menu entries in the <Brushes>, <Gradients>, <Palettes>, <Patterns> and <Fonts> menus now. Also, a fair amount of new scripts were added: reversing the order of layers, sorting color palettes etc. A few scripts that were using incorrect or deprecated constructs may have to be updated. A Script-Fu migration guide lists the most common errors and how to fix them.