GIMP
News
Docs
Tutorials
More
Text and images Copyright (C) 2002 Eric R. Jeschke and may not be used without permission of the author.
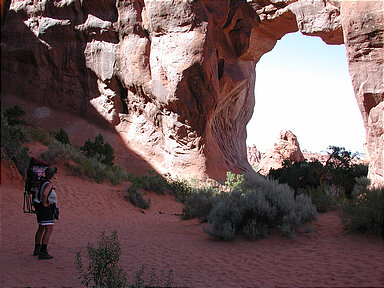
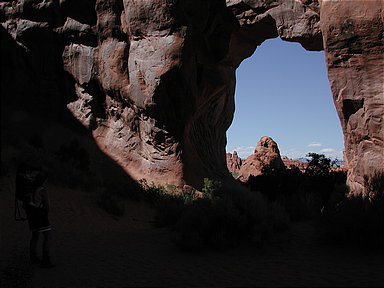
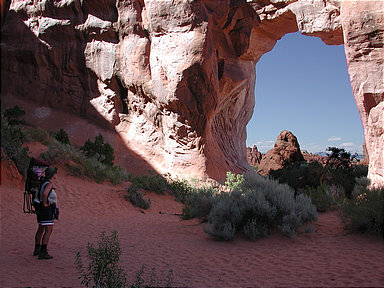
In this tutorial I’ll show you how to do blend two different exposures of the same scene that you would like to combine to get the best parts of both images. This procedure works best if you have:
If you have only one image that needs exposure adjustment, you might look at using the “digital” neutral density filter or the contrast masking technique.
Giving credit where credit is due: I did not come up with this method. I adapted it for GIMP from a Photoshop tutorial on the luminous-landscape.com photography web site (great web site BTW, I recommend it).
The basic technique is to create a layer above the image that contains the other exposure of the same scene. Finally, we apply a layer mask to the this layer which makes parts of the image transparent that we want to show through from below.
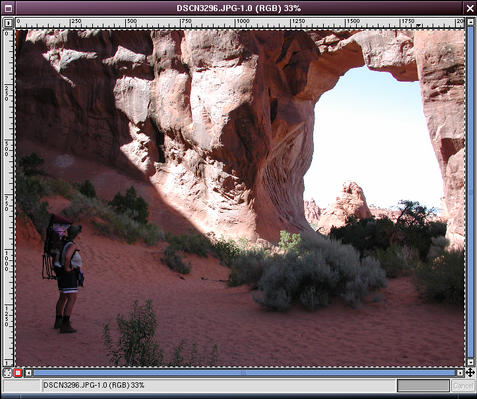
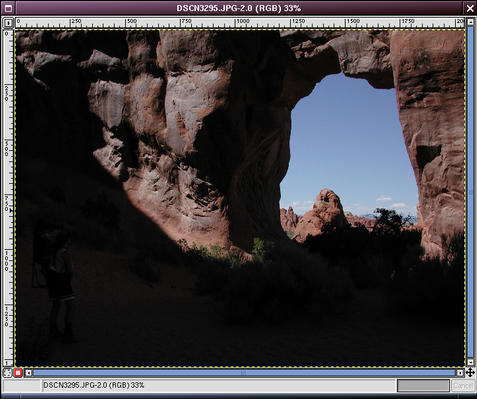
Here are the two exposures, loaded into GIMP. I am going to sandwich these on different layers and then combine them with a layer mask.
The first decision is which one goes on top. In this case I have decided to put the lighter image on top and the darker one on the bottom. The reason is because I hand-held the shots, and they are far from aligned. I’m going to have to move the bottom image until the arch is aligned as best I can get it. Also, the top image is the composition I want anyway, and I’ll have less painting to do that way.
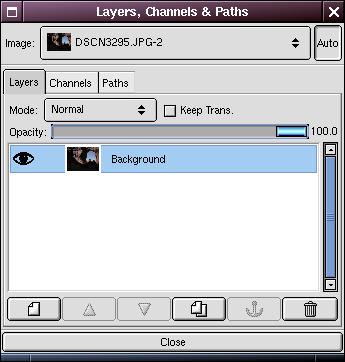
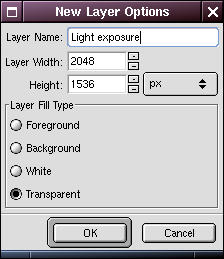
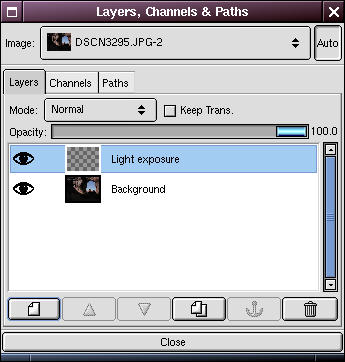
Go the image that is going to be on the bottom. Open the Layers dialog (Ctrl+L) and click on the new layer button ( ) to create a new layer.
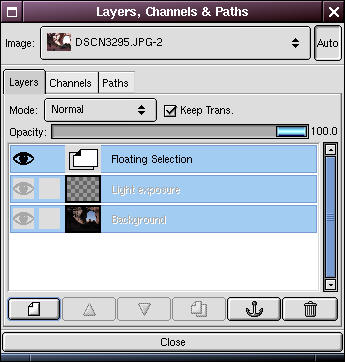
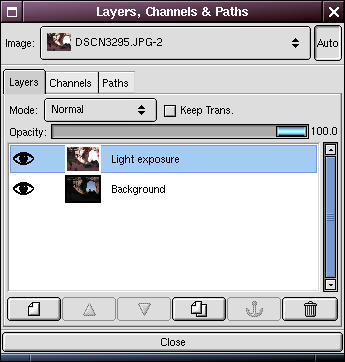
Go to the image that is going to be on top. Select all and copy (Ctrl+A then Ctrl+C). In the Layers dialog, make sure the new layer is selected, then go to the bottom image window and paste (Ctrl+V). In the Layers dialog, click on the anchor button ( ) to anchor the floating image.
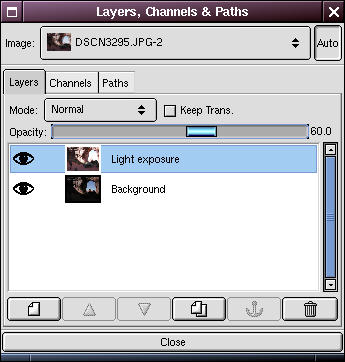
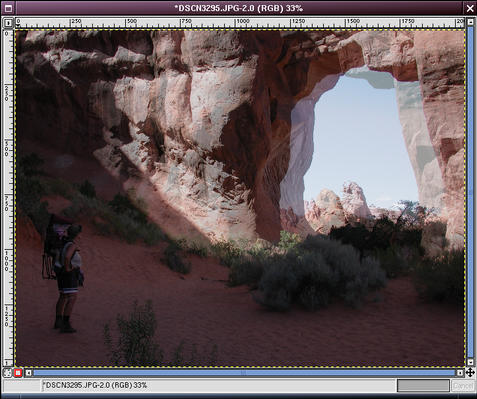
Crank down the opacity of the upper layer so that you can see both images.
If they are perfectly aligned you can skip the next step. Unless you used a digital capture on a tripod, the images probably need to be aligned. (Even if you had a film camera on a tripod, it is difficult to get two successive scans to feed through in perfect alignment.)
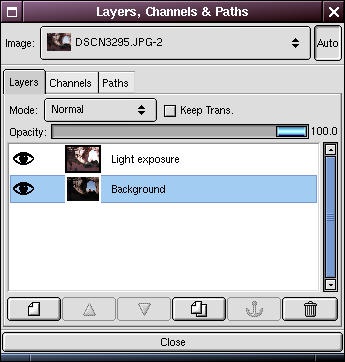
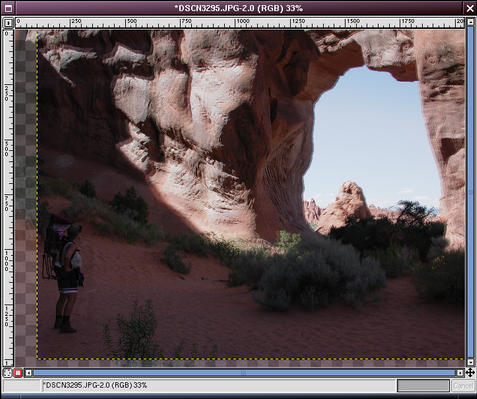
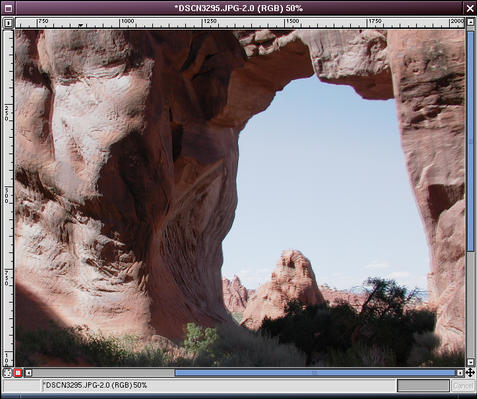
In the Layers dialog, select the layer you need to move or rotate. In this case it is the lower layer.
Using the arrow keys, nudge the image into alignment. You may need to rotate the image slightly too.
When you get close to alignment, zoom in to get a good close-up view and get the best possible fit.
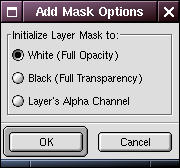
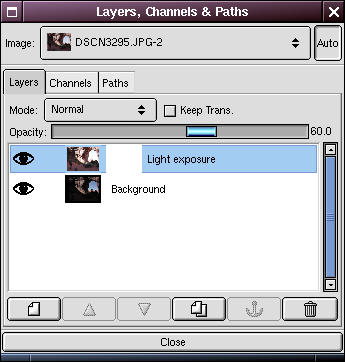
In the Layers dialog, right-click on the upper layer and select Add Layer Mask. In the Add Mask Options dialog, select White (Full Opacity) and click OK.
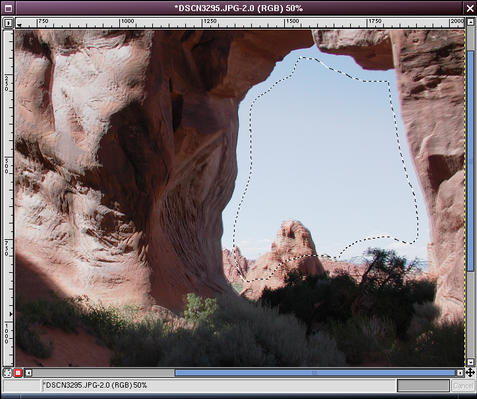
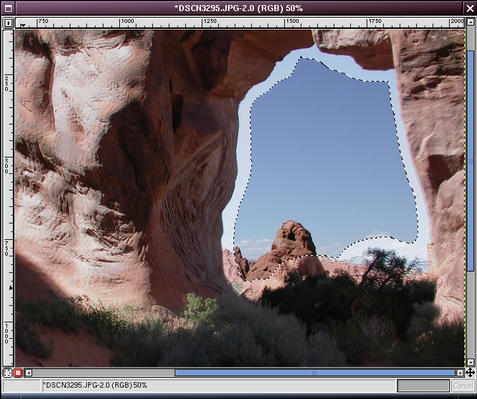
Now I want to paint black (transparency) onto the layer mask wherever I want the lower image to show through.
To minimize painting time, use the hand-select (“lasso” ) tool to select a large, hand-drawn region just inside all the borders of the area you want to paint, as shown at right. Then using the fill tool (
 ) fill the selection with black.
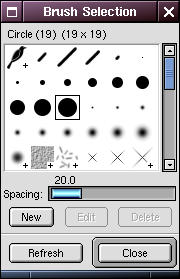
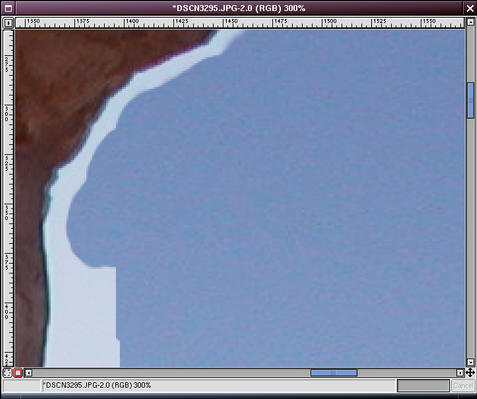
Next, I select a large opaque brush from the Brushes dialog (Dialogs/Brushes), select the Paint tool ( ) and begin painting into the mask close to the boundaries of the blend.
Notice that I still have the opacity cranked down on the upper layer so that I can see both layers.
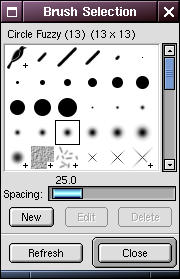
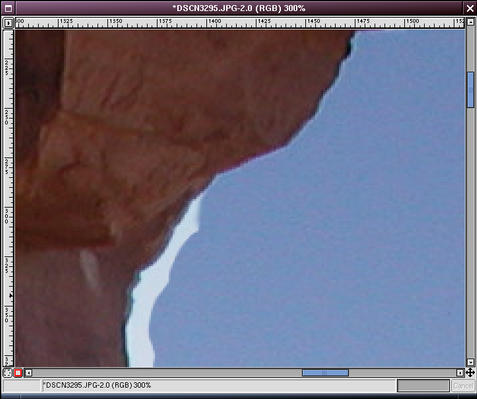
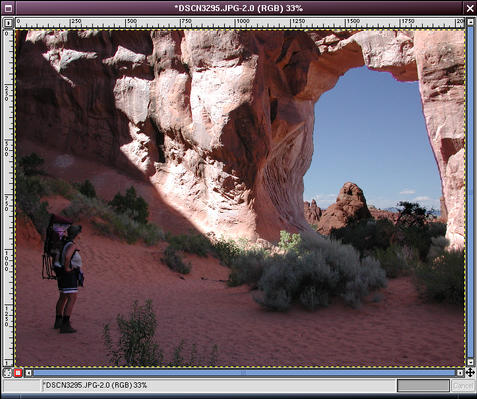
For the very edges, I switch to a small, feathered brush and very carefully paint the edges.
While I’m painting, I’ll zoom in and out frequently (“=” key to zoom in, “-” key to zoom out) to inspect the work. Don’t worry too much about the borders, since we’ll probably have to touch those up anyway.
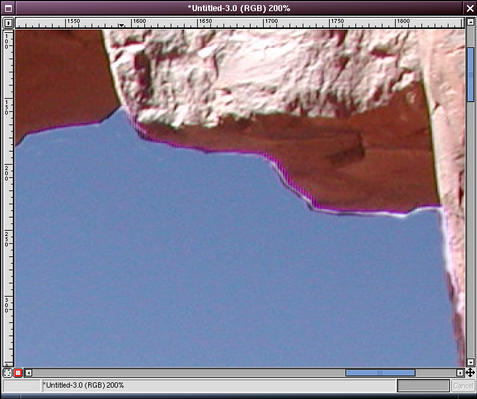
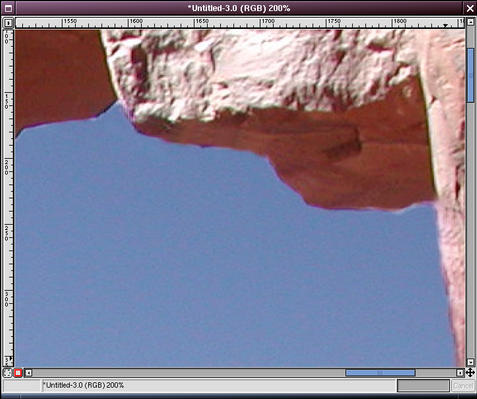
Now the most painstaking part: blending the seams. This is a little tricky due to the different tonalities of the two exposures.
For blending work, the Clone ( ), Smudge (
 ), Airbrush (
 ) and Blur (
 ) are my tools of choice.
Since I’m not sure if these tools have the ability to work across layers (as they do in Photoshop), I duplicate the image (Ctrl+D) and flatten the duplicate (
Note: see this tutorial on correcting blown out highlights for another example of using these tools for blending and some useful tips on their use.
Here I’ve used primarily clone and a touch of smudge to blend the seams of the two exposures. I didn’t do a very thorough job with this image, since it is more of an example and not something I’m planning to display at any significant size.
Note: notice the chromatic aberration of the lens in the form of purple fringing at the edge of the arch. These tools are great for dealing with that even if I were not blending two exposures.

Finished. The image still has some problems with blown out highlights in the sunlight of the rock face. It is also a little too dark in the foreground shadow.
The original tutorial used to appear on gimpguru.